Building PetaLinux for a Versal-Based Board
 ig-g57d
This week I have been busy working on my talk in the next FPGA Developer’s Forum, which will be focused on the AMD Versal architecture and the iWave iG-G57M SOM. As part of the preparation, I needed to build a PetaLinux image for the board, which is a common task for anyone working with embedded Linux on Xilinx platforms. The process involves configuring the project, modifying the device tree, and ensuring that the root filesystem is properly set up on an SD card.
My goal was to have a fully functional Linux system running on the iG-G57M, with persistent storage on the SD card and network connectivity through Ethernet. Additionally, I wanted to install Jupyter Notebook and some Python packages to facilitate development and experimentation directly on the board. The idea is having a base environment that I can use to configure the PL, configure IPs through AXI4 interfaces, and run Python code that interacts with the hardware.
Table of contents
- Prerequisites
- Creating the PetaLinux project
- Configuring the image packaging
- Modifying the device tree
- Building and writing the SD card image
- Verifying SD card persistence
- Verifying Ethernet connectivity
- Adding Jupyter Notebook and Python packages
- Conclusions
Prerequisites
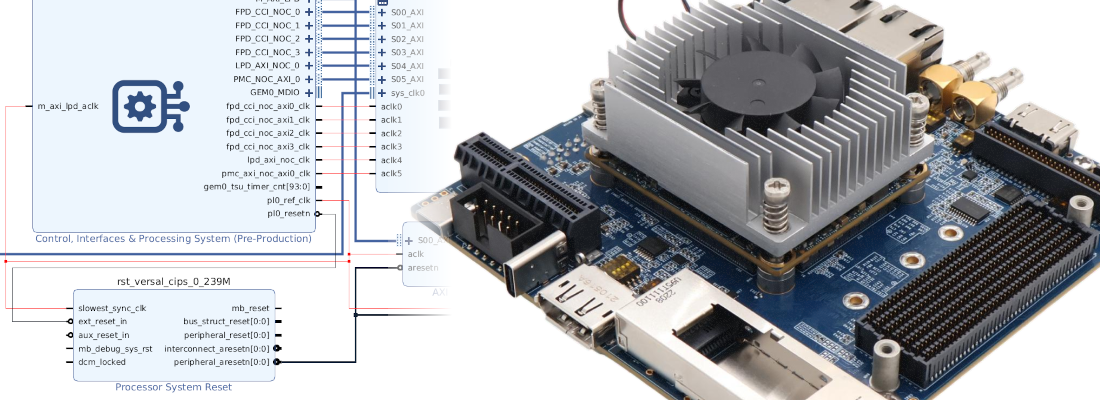
The hardware design I used for this project is the one I created in the last article. This base design includes the CIPS (Control & Interface Processing System), and the AXI NoC that connects the LPDDR4 memory. Since I am going to use this design to, later, add the IP needed for my talk, I have not added anything else to the design.
In order to make the Petalinux configuration easier, I recommend you to have the BSP for the iG-G57M. It will preconfigure the most of the Petalinux project, so we just need to make little changes. Also, unlike AMD’s BSP, this one is based on the XSA flow, so we don’t need to worry about the SDT at all.
Creating the PetaLinux project
With the PetaLinux environment sourced, create a new project using the provided BSP and then configure it from the XSA:
petalinux-create -t project -s <path to bsp file> -n fdf-demo
cd fdf-demo
petalinux-config --get-hw-description=<path-to-xsa>
This opens the system-level configuration menu (menuconfig). There is only one change we need to make in this configuration to have a usable system: switch the image packaging from INITRD to EXT4 (SD/eMMC/SATA/USB).
Configuring the image packaging
By default, PetaLinux packages the root filesystem as a ramdisk (initrd/initramfs). Every change to the filesystem is lost on reboot. For a development workflow this is impractical, so we switch to an EXT4 rootfs on the SD card.
Inside the system configuration menu, navigate to PetaLinux System Configuration → Image Packaging Configuration and change the root filesystem type from INITRD to EXT4 (SD/eMMC/SATA/USB).
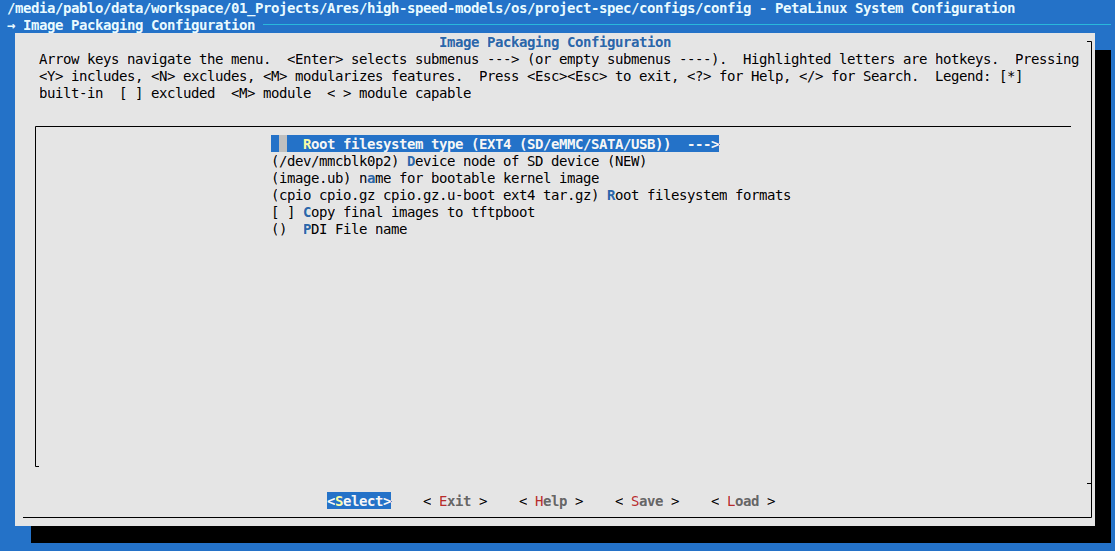
With this setting, the build will produce a .wic image with two partitions: a FAT32 boot partition (holding BOOT.BIN, boot.scr, and Image by default) and an EXT4 root filesystem partition.
Modifying the device tree
The packaging change alone is not enough. The kernel boot arguments and the SD controller node also need to be updated. Both changes go in project-spec/meta-user/recipes-bsp/device-tree/files/system-user.dtsi.
The default bootargs mount the rootfs from RAM (root=/dev/ram0). Replace that with the second partition of the SD card (/dev/mmcblk1p2):
/ {
    chosen {
        bootargs = "earlycon console=ttyAMA0,115200 clk_ignore_unused root=/dev/mmcblk1p2 rw rootwait net.ifnames=0";
    };
};
The net.ifnames=0 kernel argument keeps the classic eth0/eth1 naming instead of the longer predictable interface names, which simplifies scripting and SSH configuration.
The iG-G57D carrier exposes an SD card slot connected to SDHCI1. It is disabled by default in the hardware design, so the device tree needs to activate it explicitly:
&sdhci1 {
status = "okay";
clock-frequency = <200000000>;
xlnx,has-cd = <0x1>;
xlnx,mio-bank = <1>;
bus-width = <4>;
vqmmc-supply = <®_ssd_vqmmc>;
};
Building and writing the SD card image
With the configuration complete, we can start the build:
petalinux-build
The first run takes a while as Yocto downloads and compiles the entire sysroot from source. Once finished, package the boot binaries and generate the WIC image:
petalinux-package --boot --u-boot --force
petalinux-package --wic
Write the resulting .wic file to the SD card (replace /dev/sdX with the actual block device):
xzcat images/linux/petalinux-sdimage.wic
sudo dd of=/dev/sdX bs=4M status=progress conv=fsync
Insert the SD card into the iG-G57D, configure the boot mode switches for SD boot, and power on.
Verifying SD card persistence
After the first boot, confirm that the rootfs is on the SD card and that writes survive a power cycle. Create a test file, shut the board down gracefully, then reboot:
root@versal-iwg57m:~# ls
root@versal-iwg57m:~# echo "hola mundo" > hello.txt
root@versal-iwg57m:~# ls
hello.txt
root@versal-iwg57m:~# sudo shutdown now
After rebooting:
root@versal-iwg57m:~# ls
hello.txt
The file surviving the power cycle confirms the rootfs is living on the EXT4 partition of the SD card rather than in RAM.
Verifying Ethernet connectivity
The iG-G57M SOM includes an onboard GEM Ethernet PHY exposed as eth0. The iG-G57D carrier adds a second port on eth1. After booting, both interfaces should come up:
root@versal-iwg57m:~# ip a
1: lo: <LOOPBACK,UP,LOWER_UP> mtu 65536 qdisc noqueue state UNKNOWN group default qlen 1000
    link/loopback 00:00:00:00:00:00 brd 00:00:00:00:00:00
    inet 127.0.0.1/8 scope host lo
       valid_lft forever preferred_lft forever
    inet6 ::1/128 scope host noprefixroute
       valid_lft forever preferred_lft forever
2: sit0@NONE: <NOARP> mtu 1480 qdisc noop state DOWN group default qlen 1000
    link/sit 0.0.0.0 brd 0.0.0.0
3: eth0: <BROADCAST,MULTICAST,UP,LOWER_UP> mtu 1500 qdisc mq state UP group default qlen 1000
    link/ether fc:c2:3d:5c:c2:59 brd ff:ff:ff:ff:ff:ff
    altname end0
    inet 192.168.100.205/24 metric 10 brd 192.168.100.255 scope global dynamic eth0
       valid_lft 1731sec preferred_lft 1731sec
    inet6 fe80::fec2:3dff:fe5c:c259/64 scope link proto kernel_ll
       valid_lft forever preferred_lft forever
4: eth1: <NO-CARRIER,BROADCAST,MULTICAST,UP> mtu 1500 qdisc mq state DOWN group default qlen 1000
    link/ether 00:01:02:03:04:05 brd ff:ff:ff:ff:ff:ff
    altname end1
eth0 picks up an address via DHCP. A quick reachability test confirms internet access:
root@versal-iwg57m:~# ping 8.8.8.8
PING 8.8.8.8 (8.8.8.8): 56 data bytes
64 bytes from 8.8.8.8: seq=0 ttl=115 time=10.993 ms
64 bytes from 8.8.8.8: seq=1 ttl=115 time=10.757 ms
64 bytes from 8.8.8.8: seq=2 ttl=115 time=10.677 ms
64 bytes from 8.8.8.8: seq=3 ttl=115 time=36.949 ms
64 bytes from 8.8.8.8: seq=4 ttl=115 time=10.110 ms
64 bytes from 8.8.8.8: seq=5 ttl=115 time=11.511 ms
Plugging the cable into eth1 instead also works correctly, confirming that both ports are fully functional:
root@versal-iwg57m:~# ip a
...
3: eth0: <NO-CARRIER,BROADCAST,MULTICAST,UP> mtu 1500 qdisc mq state DOWN group default qlen 1000
    link/ether fc:c2:3d:5c:c2:59 brd ff:ff:ff:ff:ff:ff
    altname end0
    inet6 fe80::fec2:3dff:fe5c:c259/64 scope link proto kernel_ll
       valid_lft forever preferred_lft forever
4: eth1: <BROADCAST,MULTICAST,UP,LOWER_UP> mtu 1500 qdisc mq state UP group default qlen 1000
    link/ether 00:01:02:03:04:05 brd ff:ff:ff:ff:ff:ff
    altname end1
    inet 192.168.100.206/24 metric 10 brd 192.168.100.255 scope global dynamic eth1
       valid_lft 1795sec preferred_lft 1795sec
    inet6 fe80::201:2ff:fe03:405/64 scope link proto kernel_ll
       valid_lft forever preferred_lft forever
Adding Jupyter Notebook and Python packages
The iWave BSP ships Python 3.12 out of the box, but it does not include Jupyter Notebook, NumPy, or mmap. Since the goal is to run Python-based experiments directly on the board, we add these packages to the image.
The right place to install extra packages in a PetaLinux Yocto build is project-spec/meta-user/conf/petalinuxbsp.conf. Add the following lines:
#User Configuration

#OE_TERMINAL = "tmux"

IMAGE_BOOT_FILES:versal = "BOOT.BIN boot.scr Image"

# Add FIT image to the boot partition
IMAGE_BOOT_FILES:append:versal = " image.ub"

# Extra Python tooling for the simulator workflow
IMAGE_INSTALL:append = " packagegroup-python3-jupyter python3-mmap python3-numpy"
The IMAGE_BOOT_FILES:append line ensures image.ub — the FIT image containing the kernel, DTB, and optionally the AI Engine firmware — is included in the FAT32 boot partition of the WIC image.
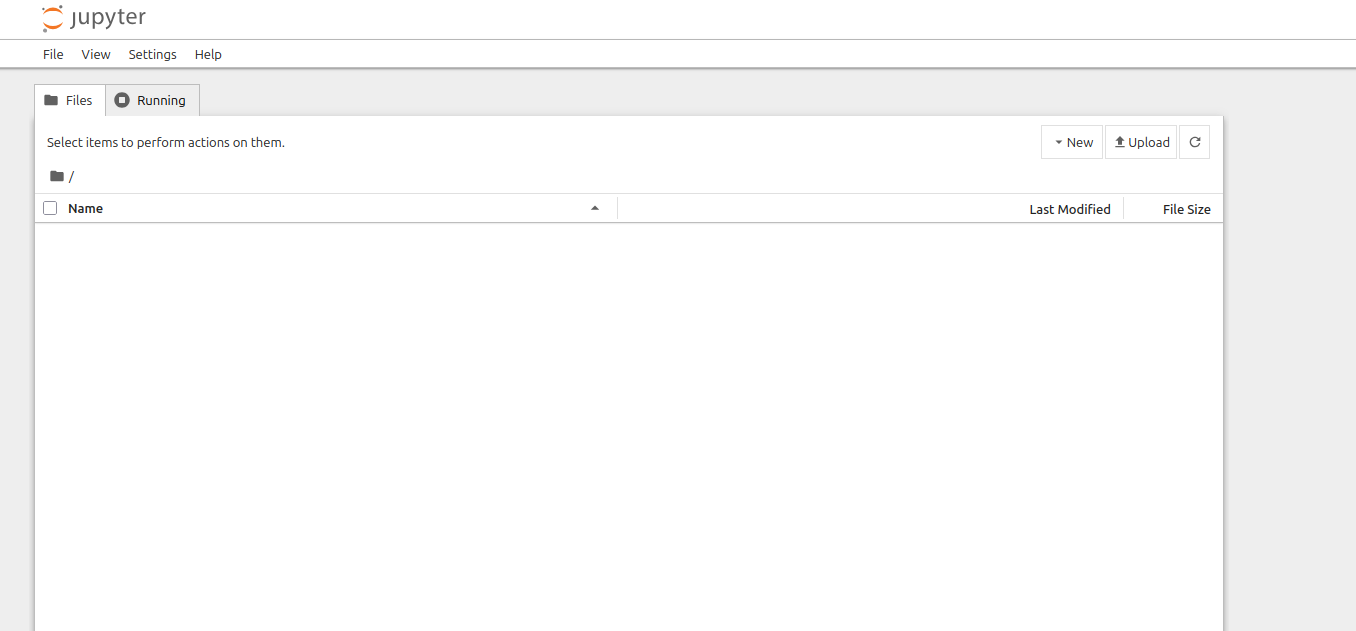
After rebuilding (petalinux-build) and reflashing the SD card, start the Jupyter server directly on the board:
root@versal-iwg57m:~# jupyter-notebook --ip 0.0.0.0 --allow-root --IdentityProvider.token="" --ServerApp.password=""
The --ip 0.0.0.0 flag makes the server listen on all interfaces, so you can open http://<board-ip>:8888 in any browser on the local network.
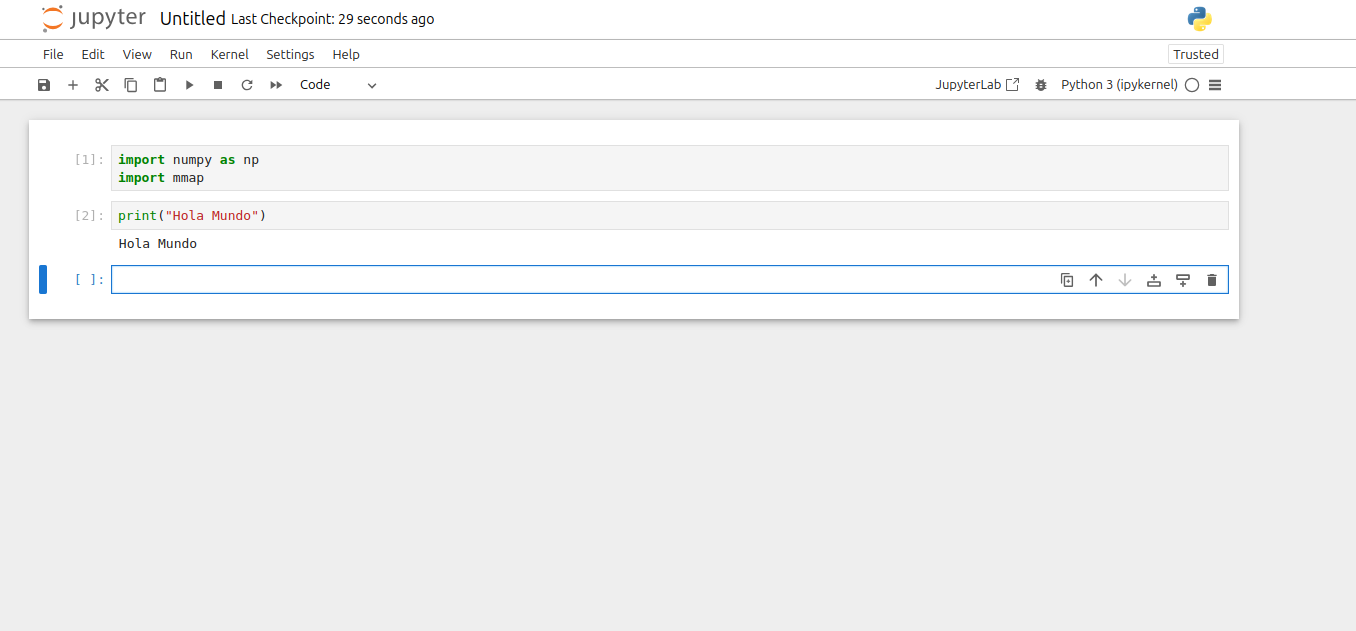
A quick check in a notebook confirms that both numpy and mmap import without errors:
Conclusions
Versal ACAP parts represent a big update with respect to the classic Zynq7000 or Zynq MPSOC architectures, but AMD did a good job by keeping most of the workflows and tools the same. Is true that this will change in the next years, but for now building a PetaLinux image for a Versal-based board is very similar to the process for older Xilinx SoCs.
The next is adding the IPs needed to simulate the hardware systems, and verify that we can interact with them through Python running on the APU.